SwiftUIの基礎を学ぶ【iOS】
SwiftUIの基礎を学習中のため、UIパーツの加工であったり、UIKitとの連携であったり忘れてしまいそうなことを書き残しておきます。
1. ローカルプッシュ通知
ボタンを押を押したらプッシュ通知を送信するサンプルを作ってみます。
プッシュ通知は設定で許可が必要になるため、許可の部分の設定も含めて実装していきます。
1-1. UserNotifications
import UserNotifications1-2. ボタンの追加
 Button {
            //プッシュ通知の処理を追加する
        } label: {
		//ボタンの名称
            Text("プッシュ通知送信")
        }
1-3. プッシュ通知の実装
処理の流れは以下の2通りが実行されます。
1)
プッシュ通知の許可を確認→許可済み→プッシュ通知の内容を設定→トリガーの設定→リクエストの作成→プッシュ通知送信
2)
プッシュ通知の許可を確認→拒否→アラートの表示
変数の追加
@State var alert = false
ボタンのaction内で以下の処理を追加します。
//許可の確認
            UNUserNotificationCenter.current().requestAuthorization(options: [.alert, .badge, .sound]) { status, error in

                //許可済みの場合 status == true
                if status {
                    //通知の内容の設定
                    let content = UNMutableNotificationContent()
                    content.title = "通知です"
                    content.body = "こんにちは"
                    //トリガーの設定
                    let trigger = UNTimeIntervalNotificationTrigger(timeInterval: 5, repeats: false)
                    //リクエストの設定
                    let request = UNNotificationRequest(identifier: "notification", content: content, trigger: trigger)
                    //通知の追加
                    UNUserNotificationCenter.current().add(request)

                    return
                }
                //alert フラグ切り替え
                self.alert.toggle()
            }
1-4. アラートの表示
ボタンのlabelの後にアラート表示する処理を追加します。
alert変数がfalseの場合のみ実行されます。
.alert(isPresented: $alert) {
            //falseの場合にアラートを表示する
            return Alert(title: Text("設定からプッシュ通知を許可してください"))
        }
1-5. 動作確認
アプリを起動してボタンを押します。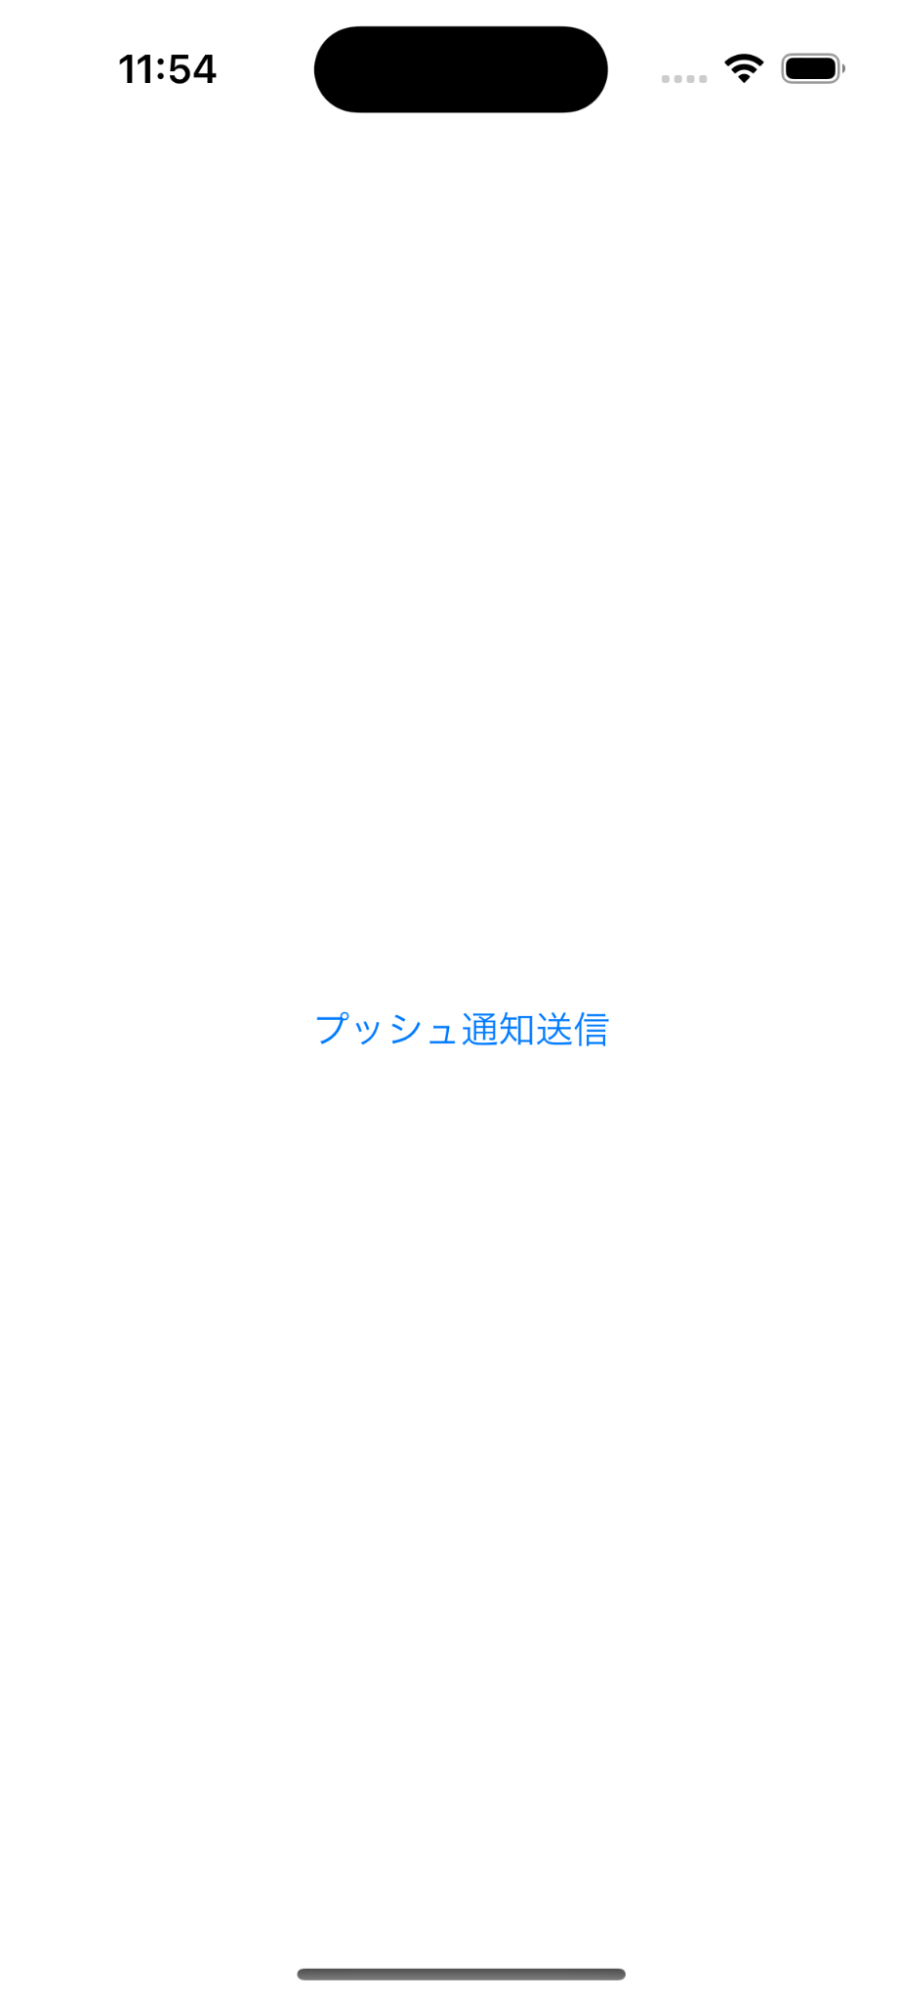
プッシュ通知の許可を確認するアラートが表示されます。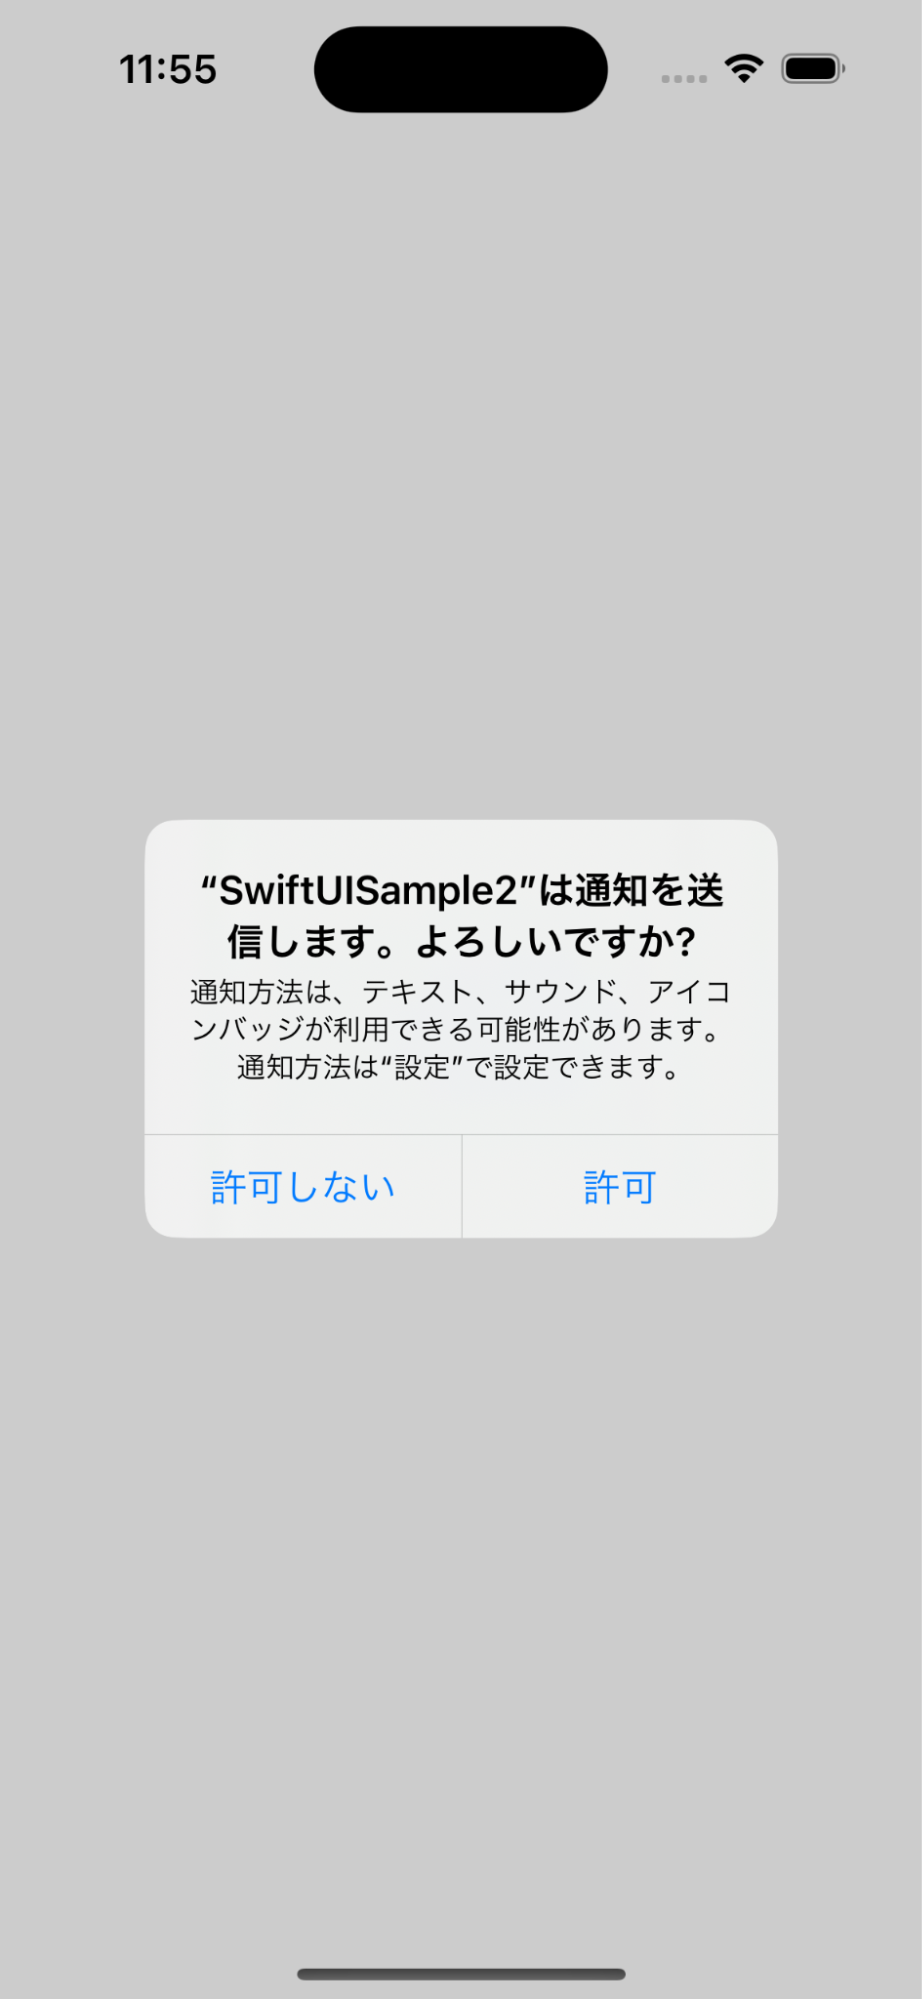
プッシュ通知の確認を許可した場合。
許可を確認してから再度プッシュ通知送信ボタンを押してみます。
バックグラウンドでローカルプッシュ通知を受信できました。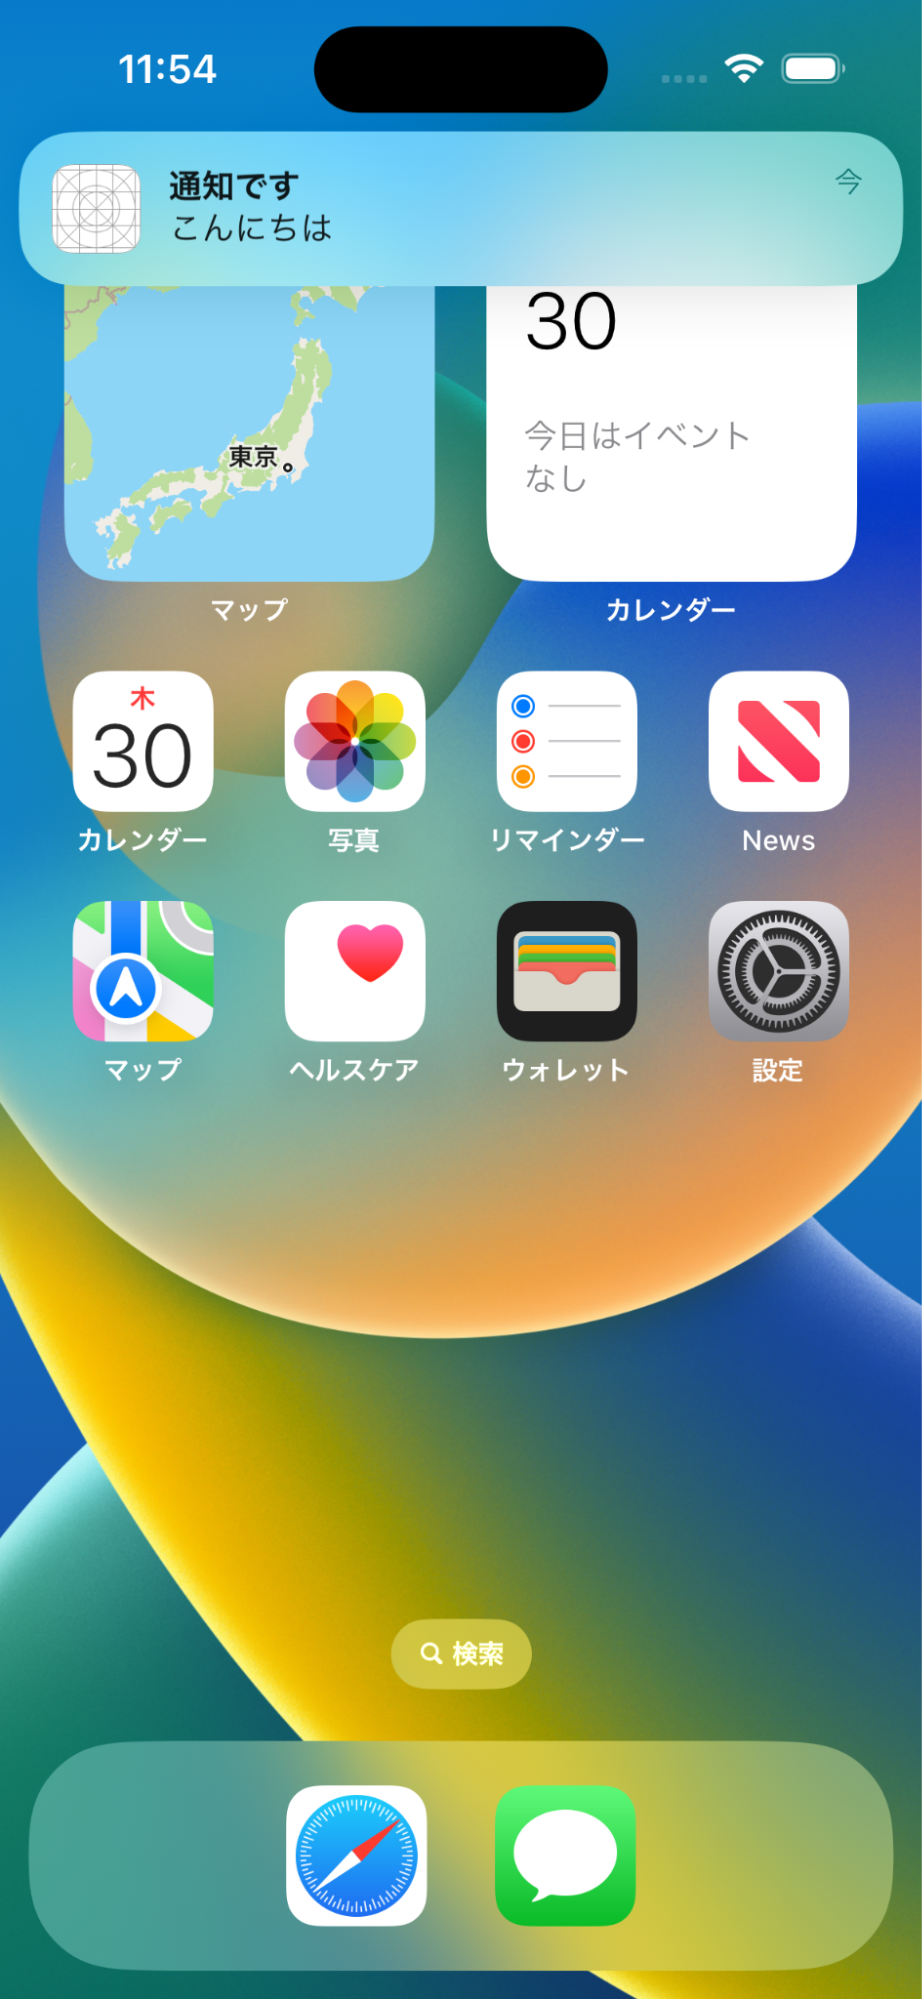
プッシュ通知の許可をしないを押した場合。
プッシュ通知の許可を促すアラートを表示します。
再度プッシュ通知送信ボタンを押した場合も同じアラートが表示されます。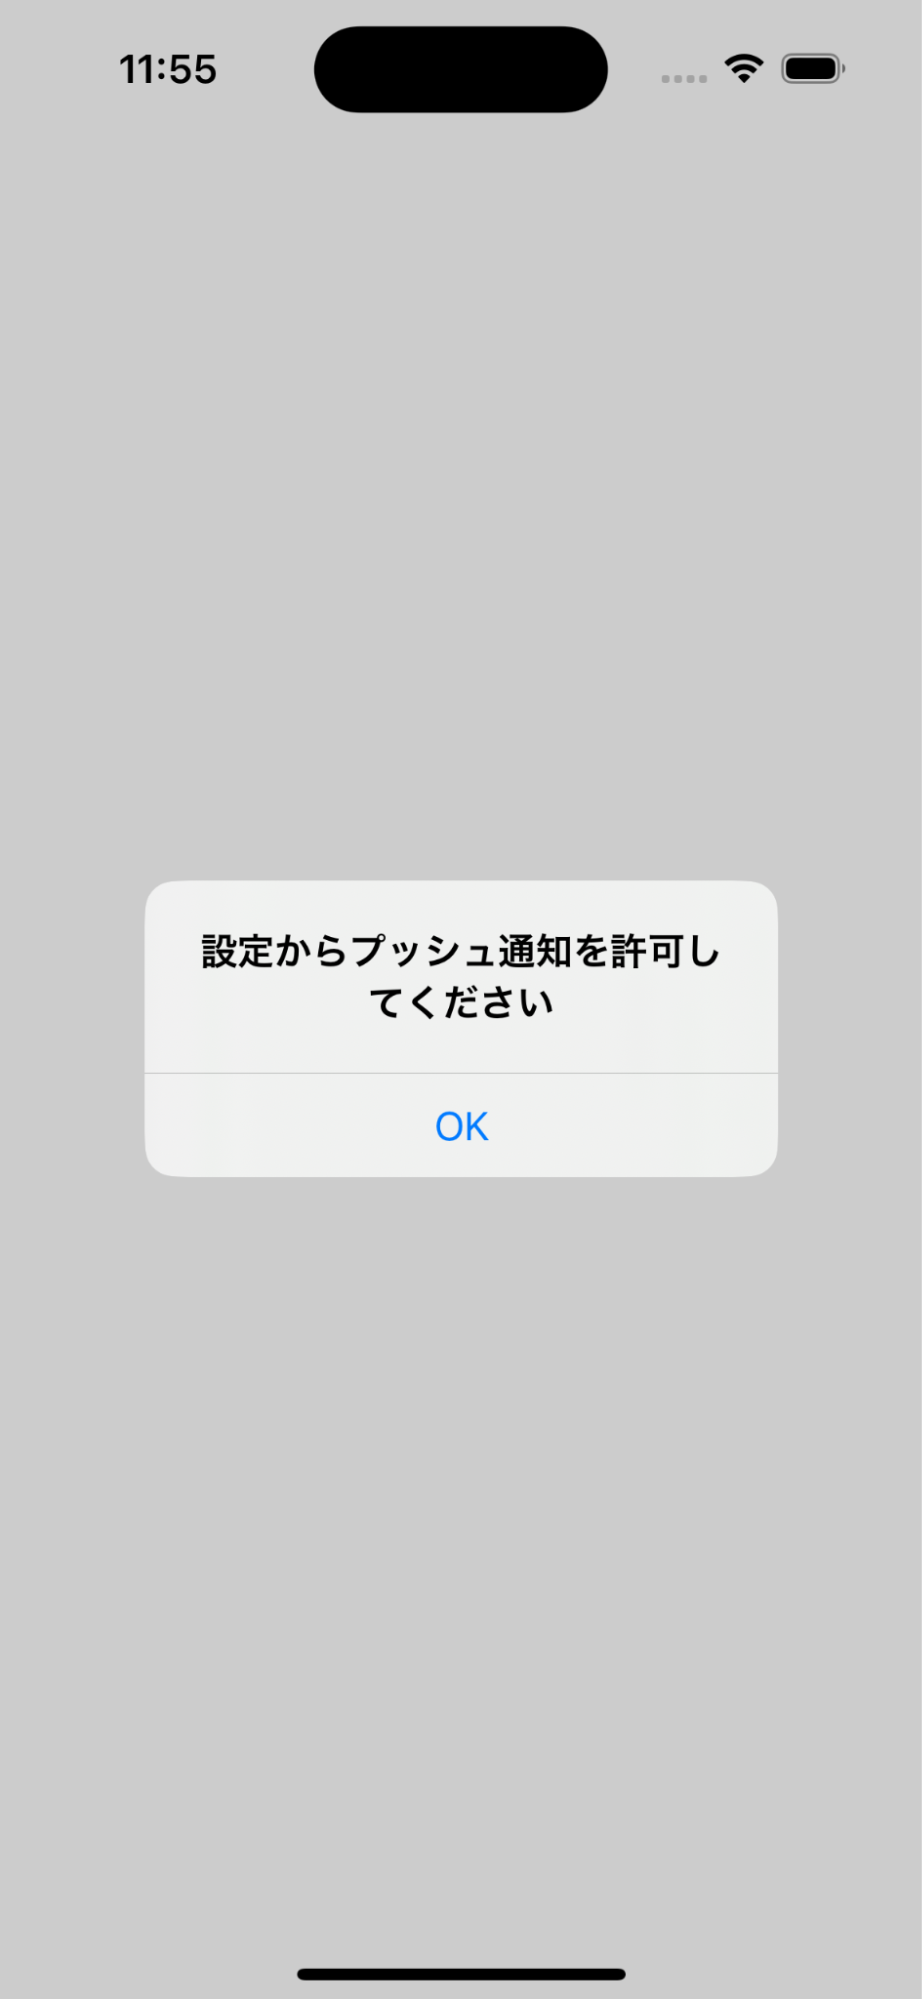
2. 自作TabBarを作ってみる
ボタンを5つ配置して以下のようなデザインを作ります。
2-1. バーの部分背景部分を作成する
Pathを使って背景となるバーの部分を作ってみます。
長方形を描画する途中でaddArcを入れて中央のプラスボタンを配置するスペースを作っています。
struct BottomBarShape: View {

    var body: some View {

        Path { path in

            path.move(to: CGPoint(x: 0, y: 0))
            path.addLine(to: CGPoint(x: UIScreen.main.bounds.width, y: 0))
            path.addLine(to: CGPoint(x: UIScreen.main.bounds.width, y: 55))

            path.addArc(center: CGPoint(x: UIScreen.main.bounds.width / 2, y: 55), radius: 30, startAngle: .zero, endAngle: .init(degrees: 180), clockwise: true)

            path.addLine(to: CGPoint(x: 0, y: 55))
        }.fill(.green)
            .rotationEffect(.init(degrees: 180))
    }
}
2-2. バーのアイテム(ボタン)を並べるViewを作成する
ボタンは画像を設定しています。
@Bindingでは選択されたボタン判別用の変数を保持します。
選択状態に応じてボタンのforegroundColorを切り替えています。
struct BarItem: View {

    @Binding var selected : Int

    var body: some View {
        HStack {
            Button {
                self.selected = 0
            } label: {
                Image("home")
            }.foregroundColor(self.selected == 0 ? .black : .gray)

            Spacer(minLength: 12)

            Button {
                self.selected = 1
            } label: {
                Image("heart")
            }.foregroundColor(self.selected == 1 ? .black : .gray)

            Spacer().frame(width: 120)

            Button {
                self.selected = 2
            } label: {
                Image("memo")
            }.foregroundColor(self.selected == 2 ? .black : .gray)

            Spacer(minLength: 12)

            Button {
                self.selected = 3
            } label: {
                Image("world")
            }.foregroundColor(self.selected == 3 ? .black : .gray)

        }

    }
}
2-3. 親Viewに追加する
VStackの最初にSpacer()を入れることで下部にTabBarが配置されます。
TabBarの設置が完了したら最後に半円の凹んだ部分にボタンを追加します。
ZStack内でボタンを追加しています。
@State var selected = 0

    var body: some View {
        VStack {

            Spacer()

            ZStack(alignment: .top) {

                BarItem(selected: $selected)
                    .padding()
                    .padding(.horizontal, 22)
                    .background(BottomBarShape())

                Button {

                } label: {
                    Image("plus").renderingMode(.original).padding(18)
                }.background(.green)
                    .clipShape(Circle())
                    .offset(y: -31)

            }
        }.background(Color("Color").edgesIgnoringSafeArea(.top))

    }
2-4. 動作確認
以上で完成しました。
ボタンを選択すると黒とグレーで選択状態が変化します。
中央のボタンやその他のボタンの配置も微調整して違和感なく配置できました。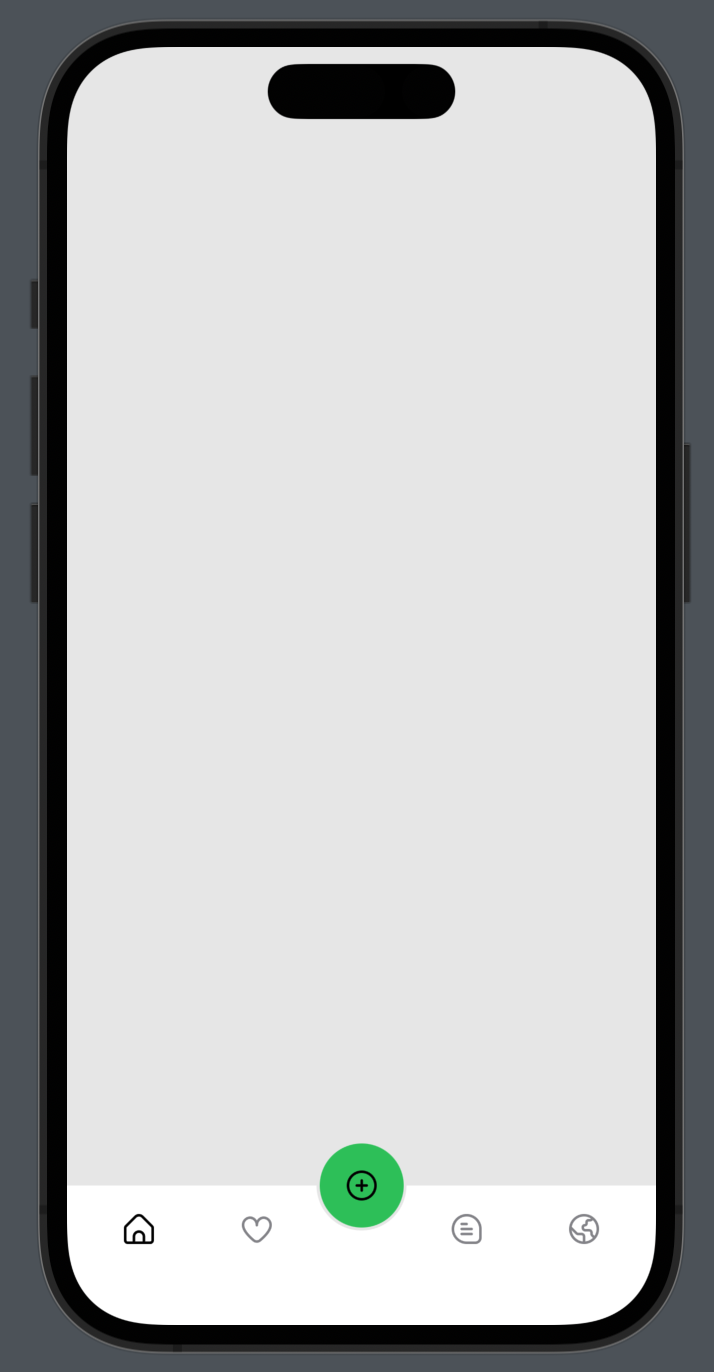
3. SwiftUIからStoryboardを使う
ファイル名はSample.storyboardとしました。
Storybaord内で追加したViewControllerにStoryboard IDを設定します。
Storyboard IDはSampleVCとしました。
makeUIViewControllerでそれぞれのインスタンスにStoryboard名とStoryboard IDを設定します。
struct SampleViewControllerWrapper: UIViewControllerRepresentable {

    func makeUIViewController(context: Context) -> some UIViewController {
	//Storyboardのファイル名
        let storyboard = UIStoryboard(name: "Sample", bundle: Bundle.main)
	//ViewControllerに指定したStoryboard ID
        let controller = storyboard.instantiateViewController(identifier: "SampleVC")

        return controller
    }

    func updateUIViewController(_ uiViewController: UIViewControllerType, context: Context) {

    }

}
3-1. 動作確認
Storyboard上でViewControllerに背景とラベルを追加したレイアウトを作成しました。
SwiftUIの親ViewでSampleViewControllerWrapperを読み込むと問題なく表示されました。
ビルドしなくてもプレビューでもレイアウトが表示されていまいた。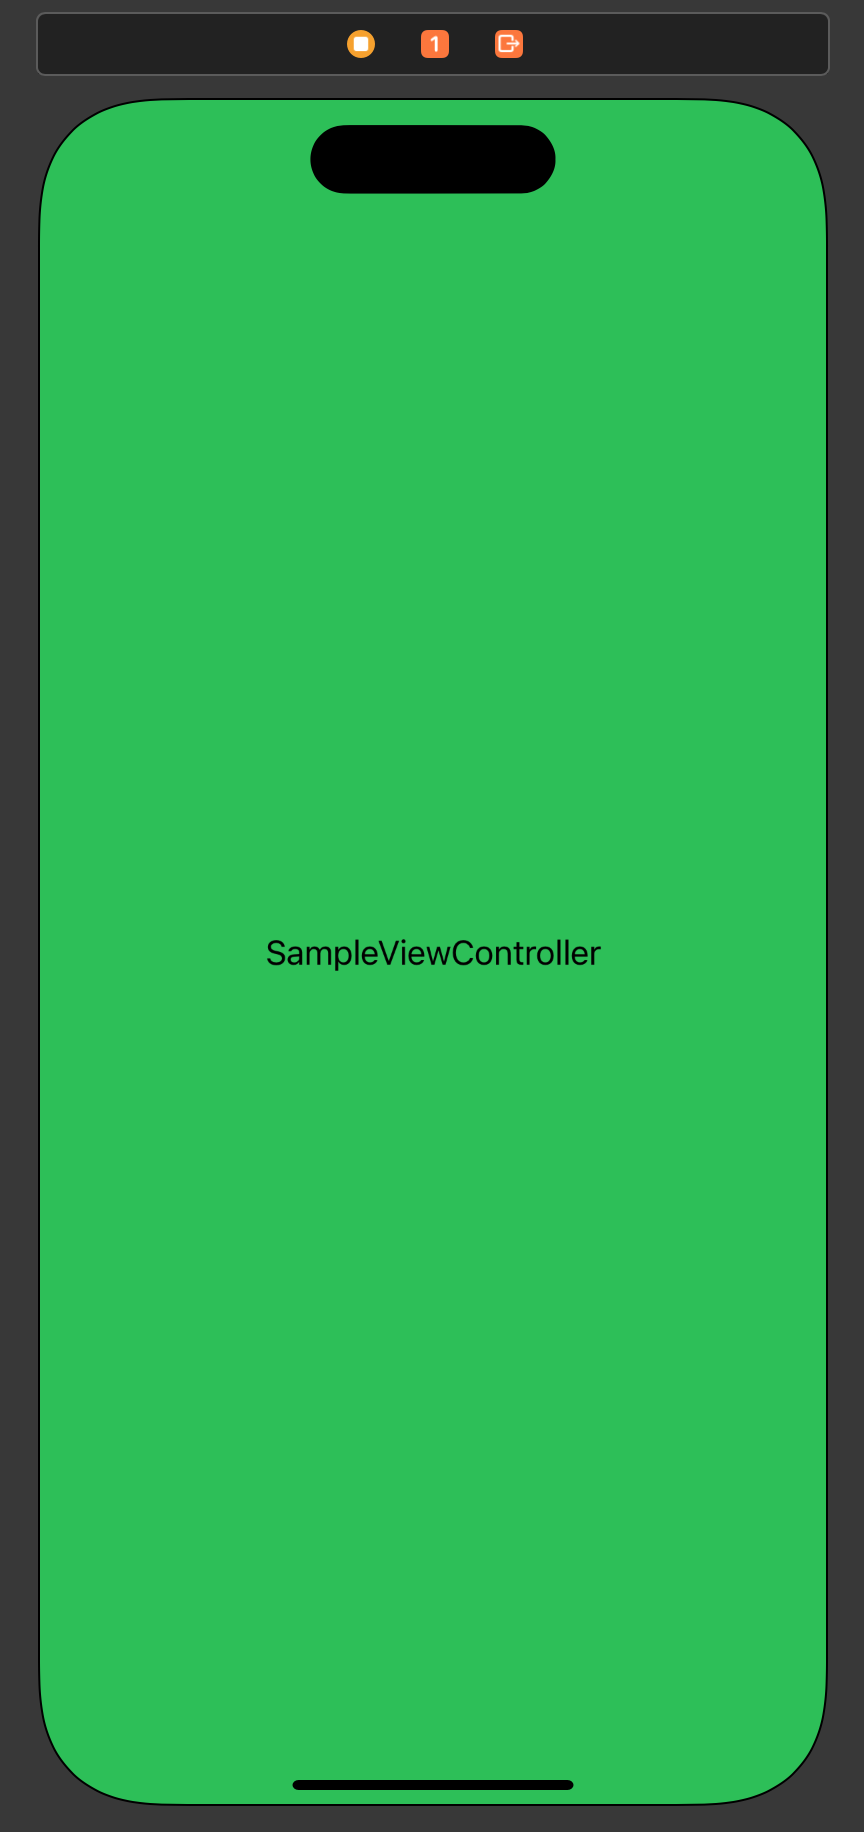
4. Listで並び替えと削除を行う

4-1. 配列の準備
@State var lists = ["A", "B", "C", "D", "E"]
4-2. NavigationView
 NavigationView {
}
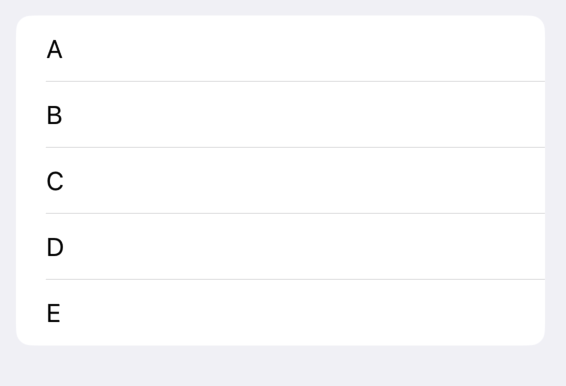
4-3. Listにデータを表示する
List {
                ForEach(lists, id: \.self) { list in
                    Text(list)
                }
            }
4-4. 編集ボタンの追加
onDeleteとonMoveも追加してデータの削除と順番の移動を可能にします。
全体のコード
@State var lists = ["A", "B", "C", "D", "E"]

    var body: some View {

        NavigationView {

            List {
                ForEach(lists, id: \.self) { list in
                    Text(list)
                }
                .onDelete(perform: delete)
                .onMove(perform: move)
            }
            .navigationBarTitle("リスト")
            .navigationBarItems(trailing: EditButton())
        }
    }

    func delete(offsets: IndexSet) {
        self.lists.remove(atOffsets: offsets)
    }
    func move(offsets: IndexSet, index: Int) {
        self.lists.move(fromOffsets: offsets, toOffset: index)
    }
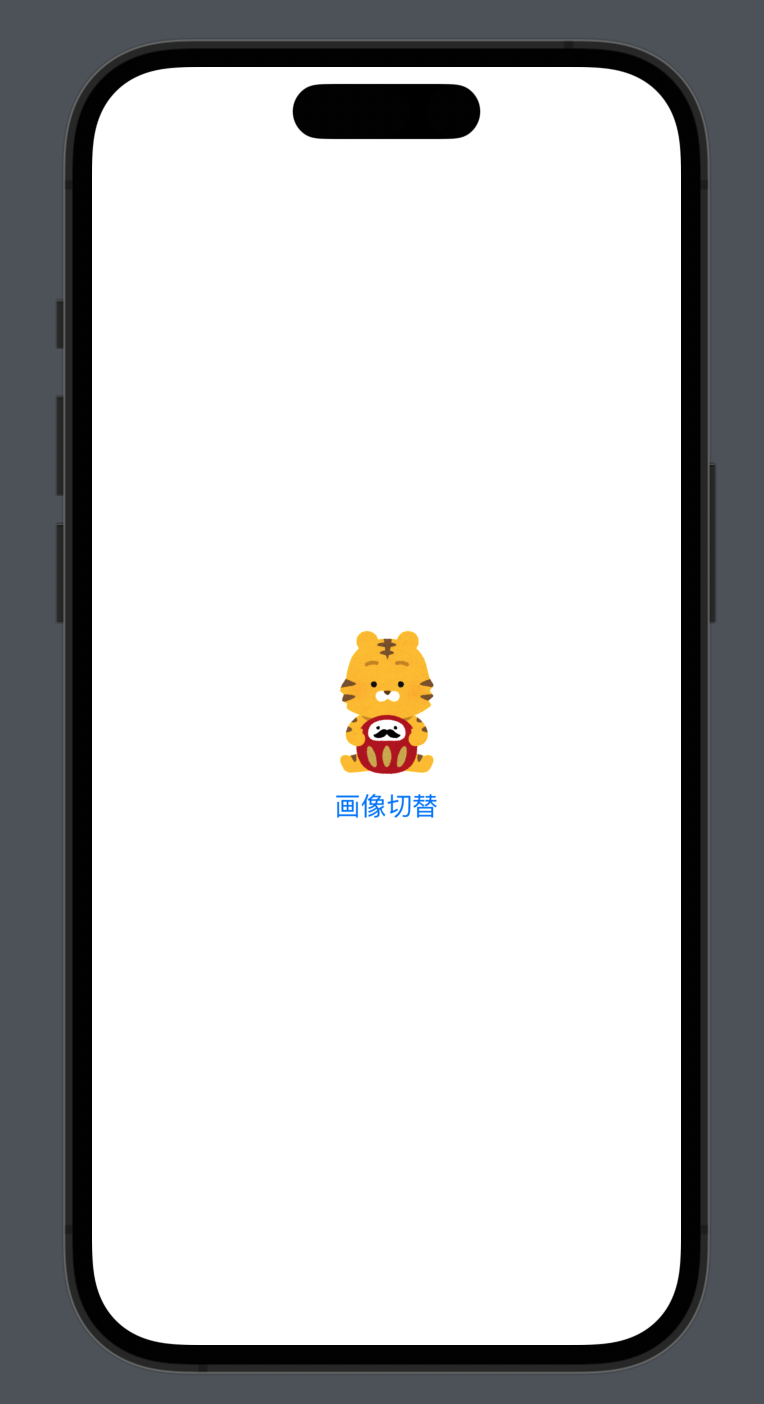
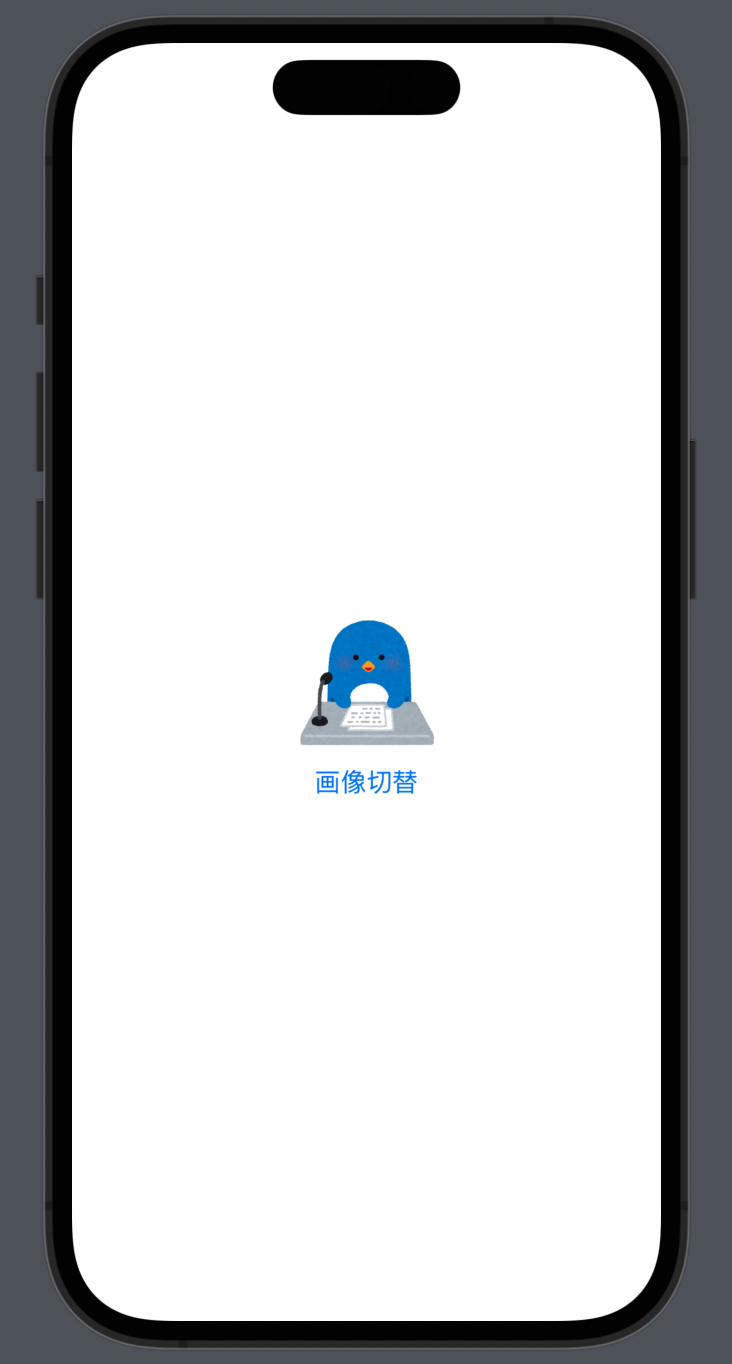
5. Web上の画像を表示する
画像を読み込むためのライブラリはSDWebImageSwiftUIを使います。
まずは変数を追加して画像ファイルのURLを入力します。
@State var url = "画像ファイルのURLを入力します"
VStackで画像表示用のViewと画像切り替えボタンを縦並びで配置します。
Buttonのアクションで切り替え後の画像のURLを設定しています。
var body: some View {

        VStack {

        AnimatedImage(url: URL(string: url)).resizable().frame(width: 100, height: 100)

            Button {
                self.url = "変更後の画像URL"
            } label: {
                Text("画像切替")
            }
        }
    }
ボタンクリックで画像が切り替わりました。
6. ボタンと通知の数を表示するレイアウトを作ってみる

6-1. 完成イメージ
完成イメージはこんな漢字でボタンの右上に通知の数が表示できれば完成とします。
6-2. ZStackで重ねる
ボタンとカウントアップ用のテキストは一部分を重ねて表示したいのでZStackで囲みます。
ボタンはリサイズを可能にして、余白の設定、アスペクト比を保つ設定、サイズの指定、背景色とアイコンの色、サークル状に切り抜く処理を行っています。
カウントアップ表示用のテキストも同様にサークル状に切り抜いています。
@State var count = 0

    var body: some View {

        ZStack {
            Button {
                self.count += 1
            } label: {
                Image(systemName: "envelope.fill")
                    .resizable()
                    .padding(12)
                    .aspectRatio(contentMode: .fit)
                    .frame(width: 50, height: 50)
                    .background(.gray)
                    .foregroundColor(.white)
                    .clipShape(Circle())
            }

            if count != 0 {
                Text("\(count)")
                .font(.caption2)
                .padding(4)
                .foregroundColor(.white)
                .background(.red)
                .clipShape(Circle())
                .offset(x: 18, y: -22)
        }
        }
    }
7. まとめ
いかがでしたでしょうか。
今回はSwiftUIの基礎を学習中に、活用する場面がありそうなことを書き残しました。
内容が多岐に渡り、まとまりのない記事になってしまいましたが、一部でも参考にしていただけると幸いです。
